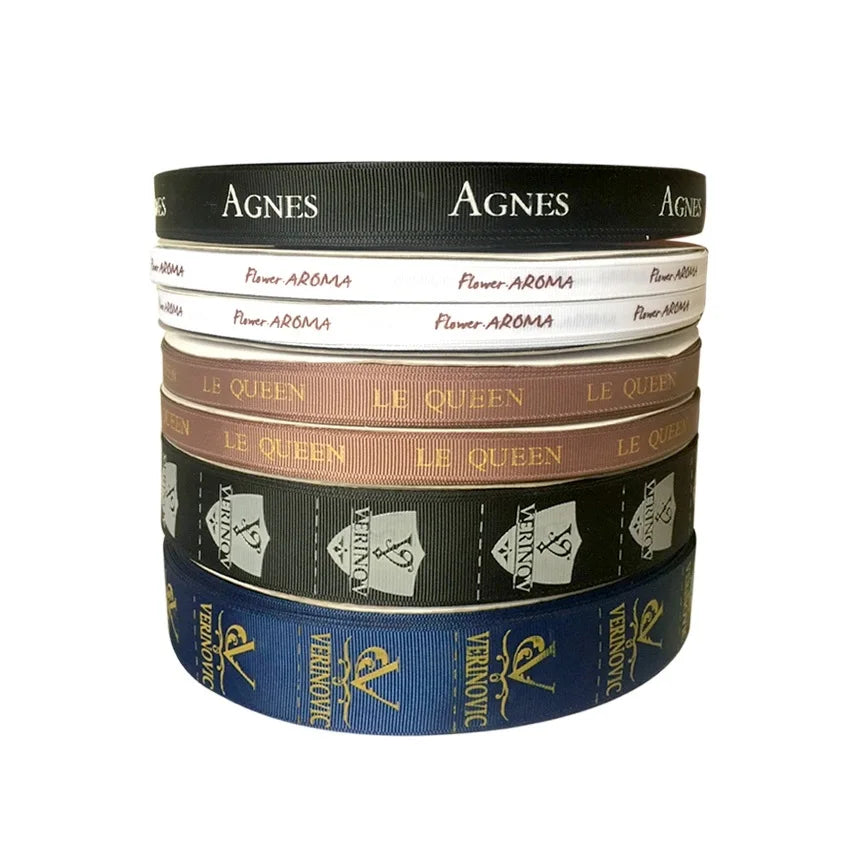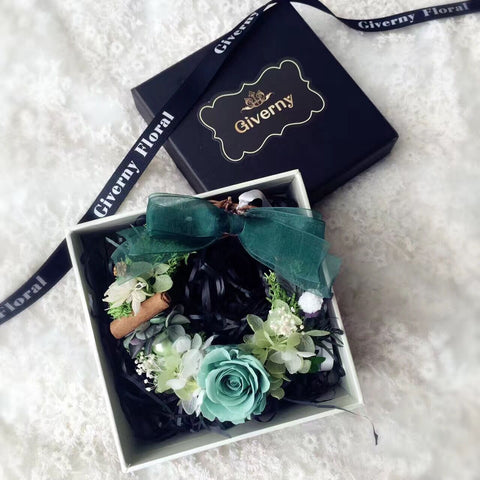
HOW TO CUSTOM RIBBON
Share
Are you looking for a unique way to add a personal touch to your gifts or crafts? Customizing ribbons is a great way to make your creations stand out. Whether you want to add a special message, a logo, or a specific design, custom ribbons can elevate your project to the next level. In this blog post, we will guide you through the process of customizing ribbons, step by step.
Step 1: Choose the Right Ribbon
The first step in customizing ribbons is selecting the right type of ribbon for your project. Consider the width, material, and color of the ribbon. Satin and grosgrain ribbons are popular choices due to their smooth texture and durability. Decide on the width based on your needs, whether you want a narrow ribbon for a delicate touch or a wider ribbon for a bolder statement.
Step 2: Determine the Length
Next, determine the length of the ribbon you will need. Measure the size of the gift or craft you are working on and add a few extra inches for tying or attaching the ribbon. It's always better to have a little extra length than to come up short.
Step 3: Design and Personalize
Now comes the fun part – designing and personalizing your ribbon. There are several ways to achieve this:
Printing: If you have access to a printer that can handle ribbon, you can print your design directly onto the ribbon. Make sure to use a printer that is compatible with ribbon printing and follow the manufacturer's instructions.
Heat Transfer: Another option is to use heat transfer methods. Create your design on a heat transfer paper and then use a heat press or iron to transfer the design onto the ribbon. This method allows for more intricate designs and vibrant colors.
Hand Painting: If you prefer a more artistic approach, you can hand paint your design onto the ribbon using fabric paints or markers. This method gives you complete control over the design and allows for a truly unique result.
Step 4: Let it Dry
Once you have customized your ribbon, allow it to dry completely before handling or using it. Follow the instructions provided with the printing or painting method you chose to ensure the best results.
Step 5: Attach and Enjoy
Finally, it's time to attach your custom ribbon to your gift or craft. Tie it in a bow, wrap it around a package, or use it to embellish a handmade item. Admire your personalized creation and enjoy the satisfaction of adding a special touch to your project.
Customizing ribbons is a creative and rewarding process. Whether you are preparing for a special occasion or adding a personal touch to your crafts, custom ribbons can make a big impact. Follow these steps and let your imagination run wild to create beautiful and unique ribbons that will impress everyone who sees them.


